It’s probably one of nature’s most beautiful spectacles. The Northern Lights are a dream to remember for the rest of your life. Here are some practical tips for photographing the northern lights
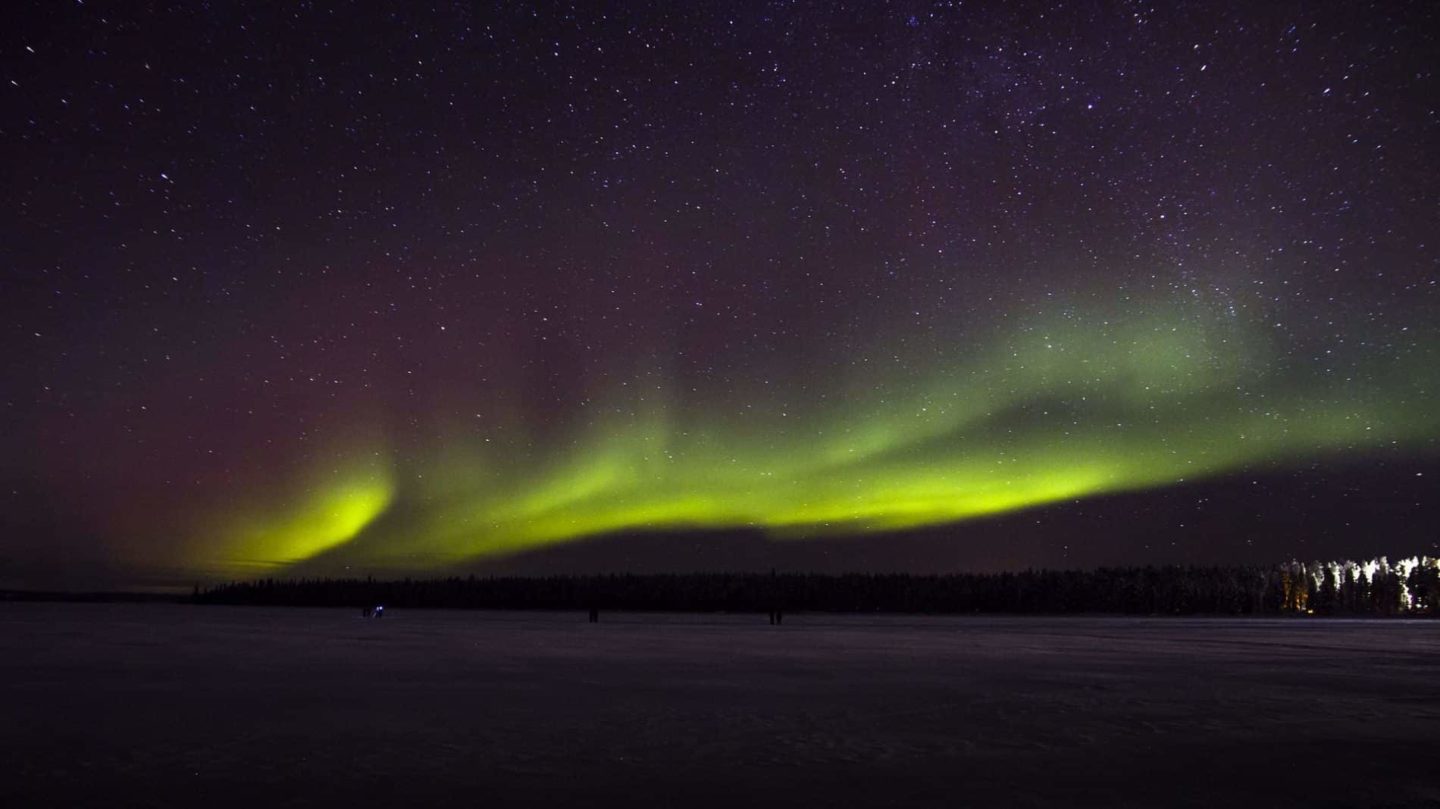
It had to be a dream to see the Northern Lights, and I saw them throughout my winter season. It’s a unique sensation when you see your first aurora borealis with your own eyes. The northern light also called the polar aurora is observed in the Northern Hemisphere. It can also be seen in the southern hemisphere, and is known as the aurora australis.
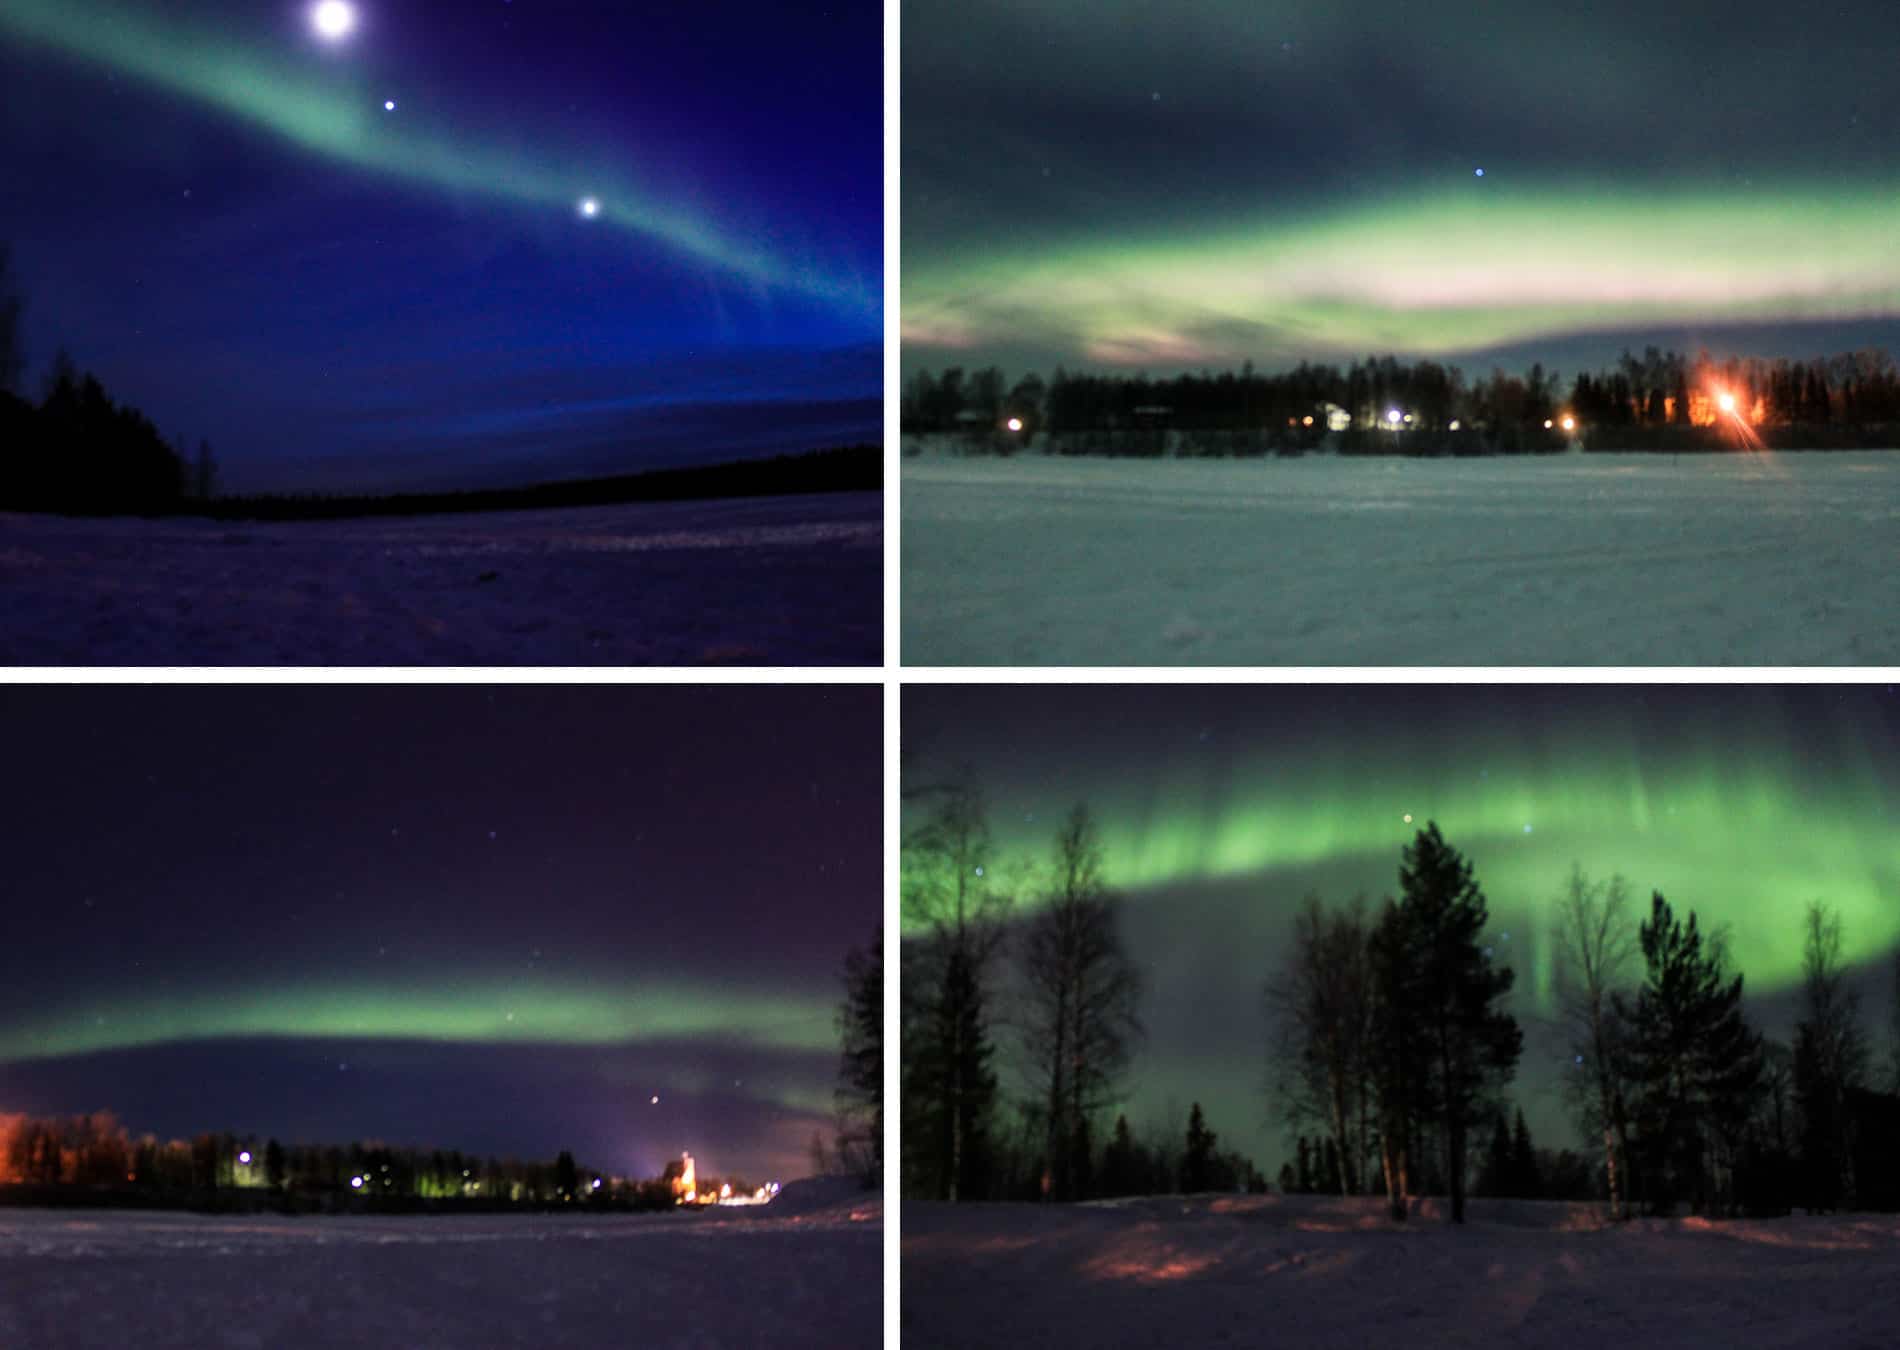
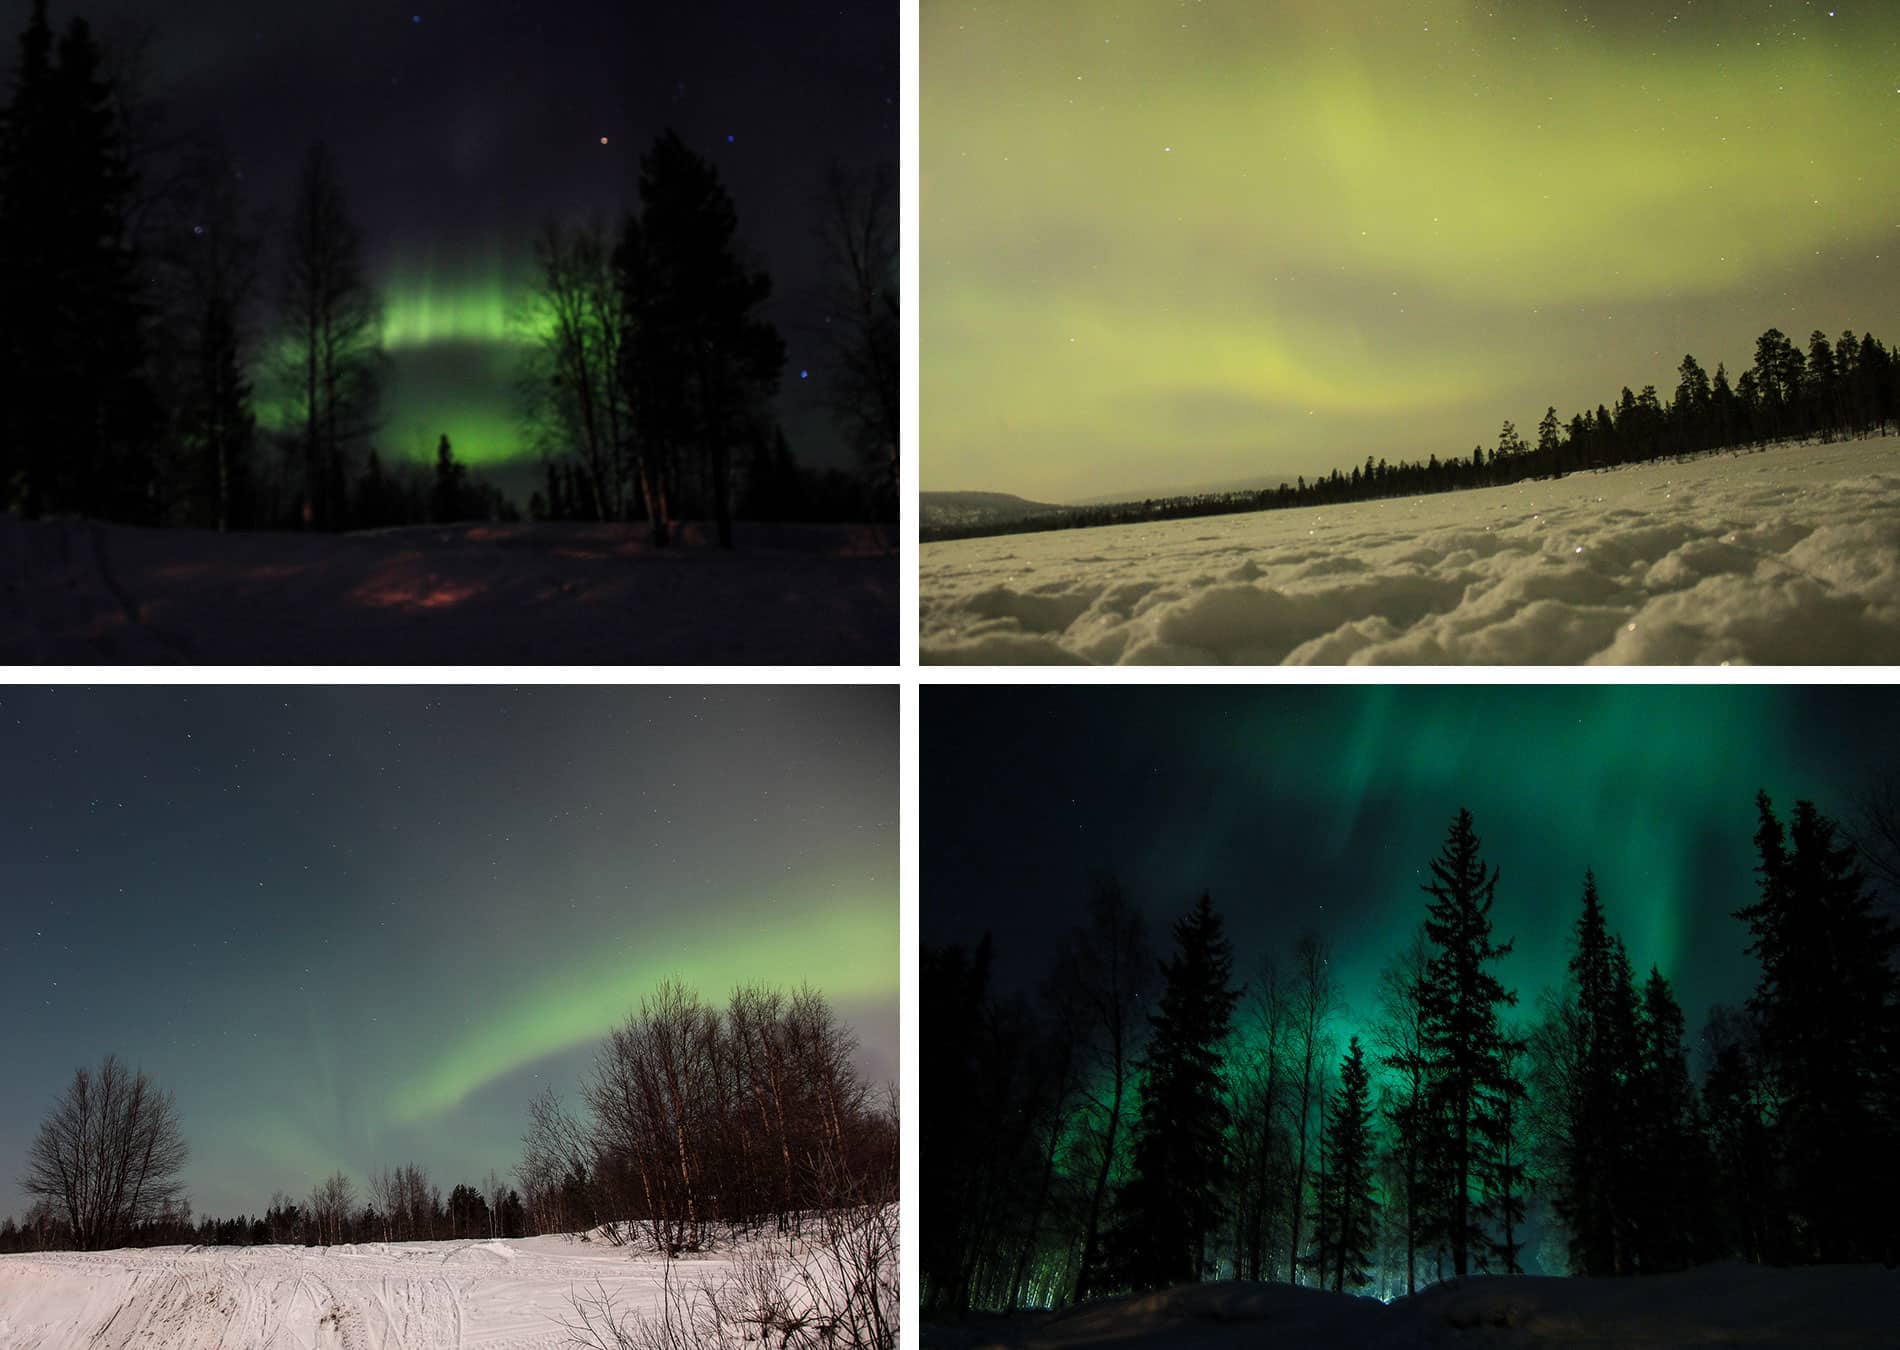
The northern light is a luminous natural phenomenon, often green in color, that can be observed at certain latitudes. Depending on the intensity, we find different colors such as red, violet or yellow, and every aurora is different. It can appear as a light or thick veil, last a minute or an hour, be static or moving, and move like a curtain. It may be round, thin or long, but no two nights are alike. I remember one night when we knew the activity was going to be very intense. We went out in -30°C weather and were treated to a fairytale-like spectacle of incredible density! We were lying on the frozen lake, watching the crazy spectacle unfold before us. It brought tears to my eyes, I promise you!
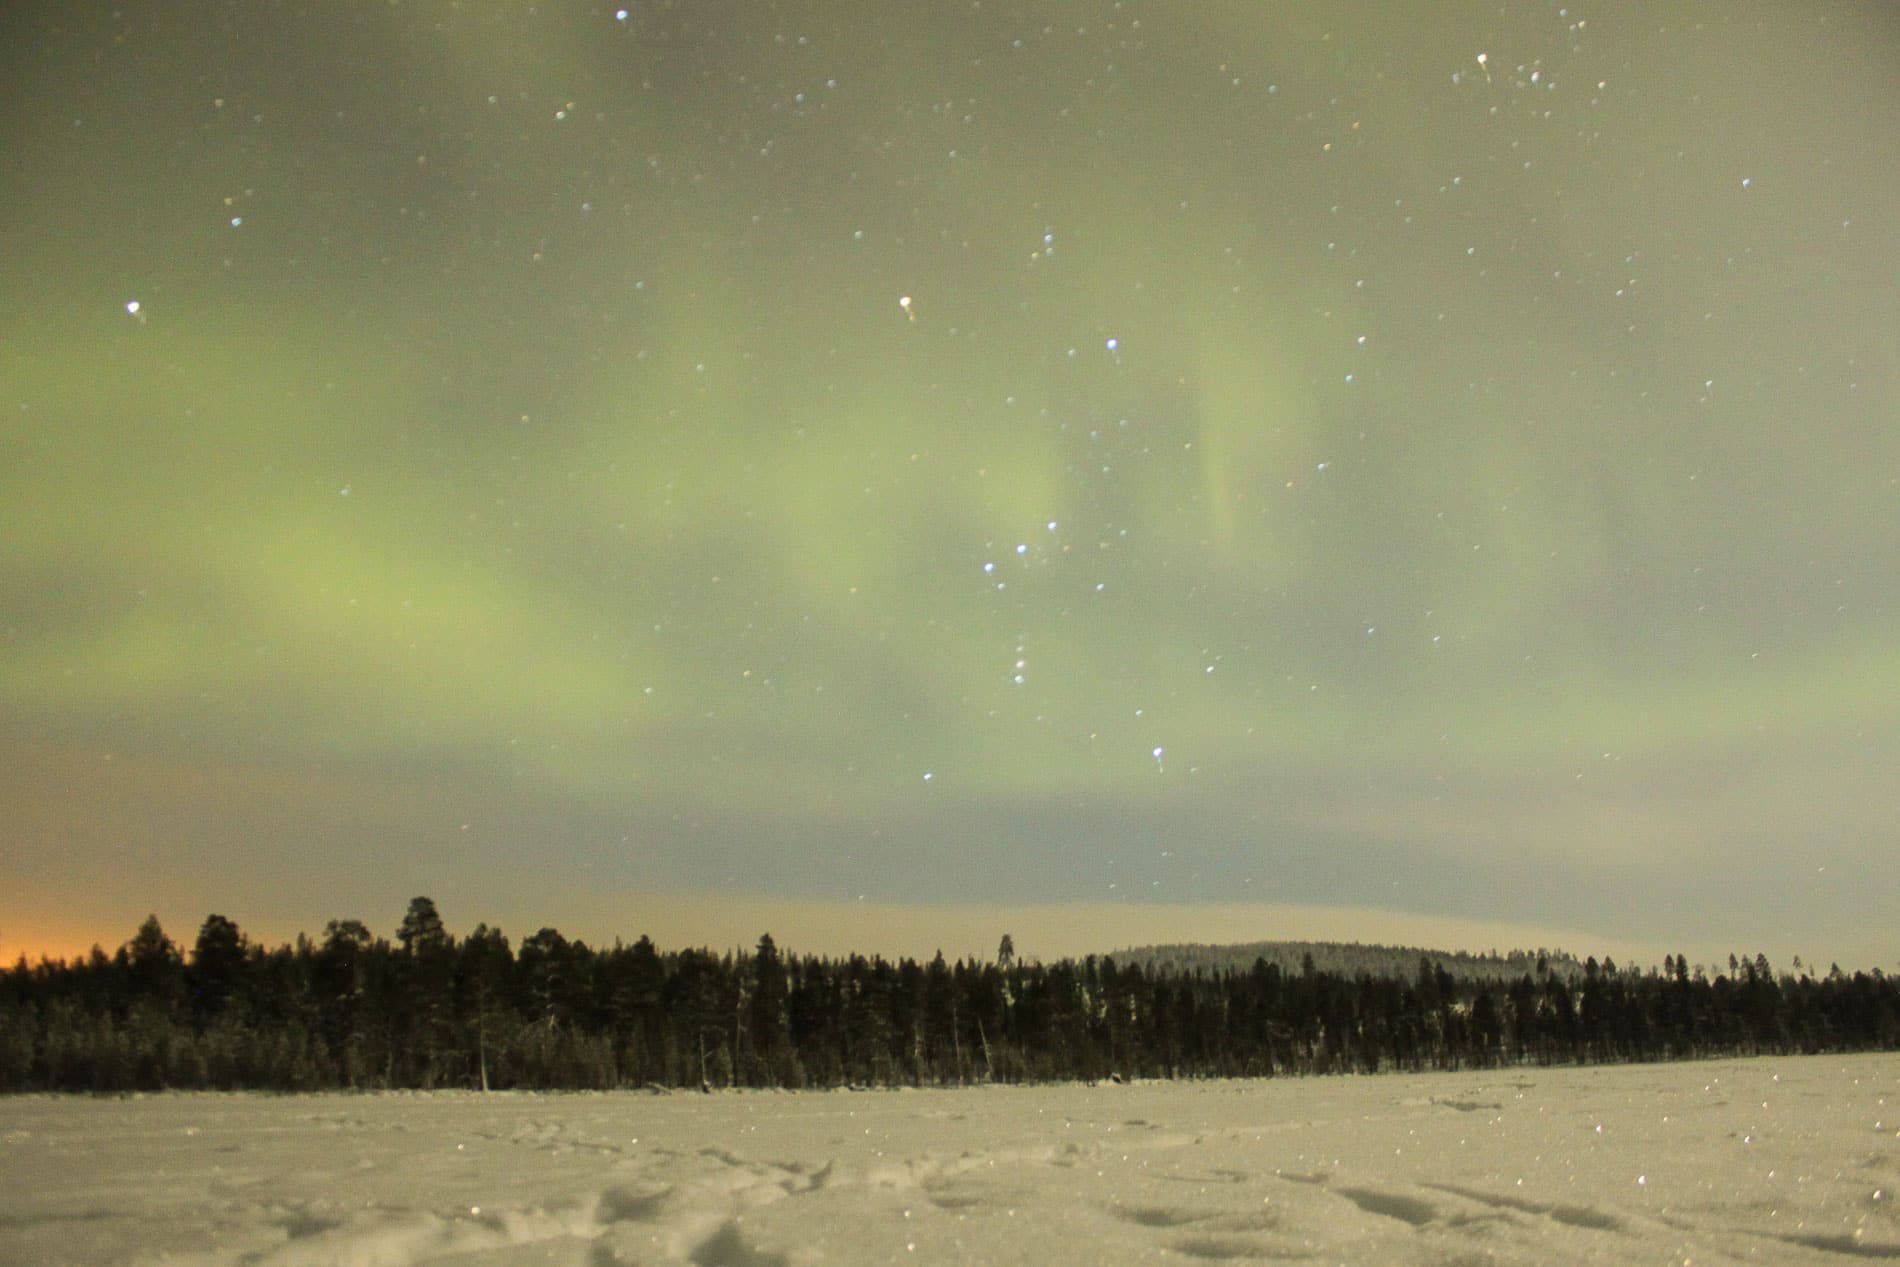
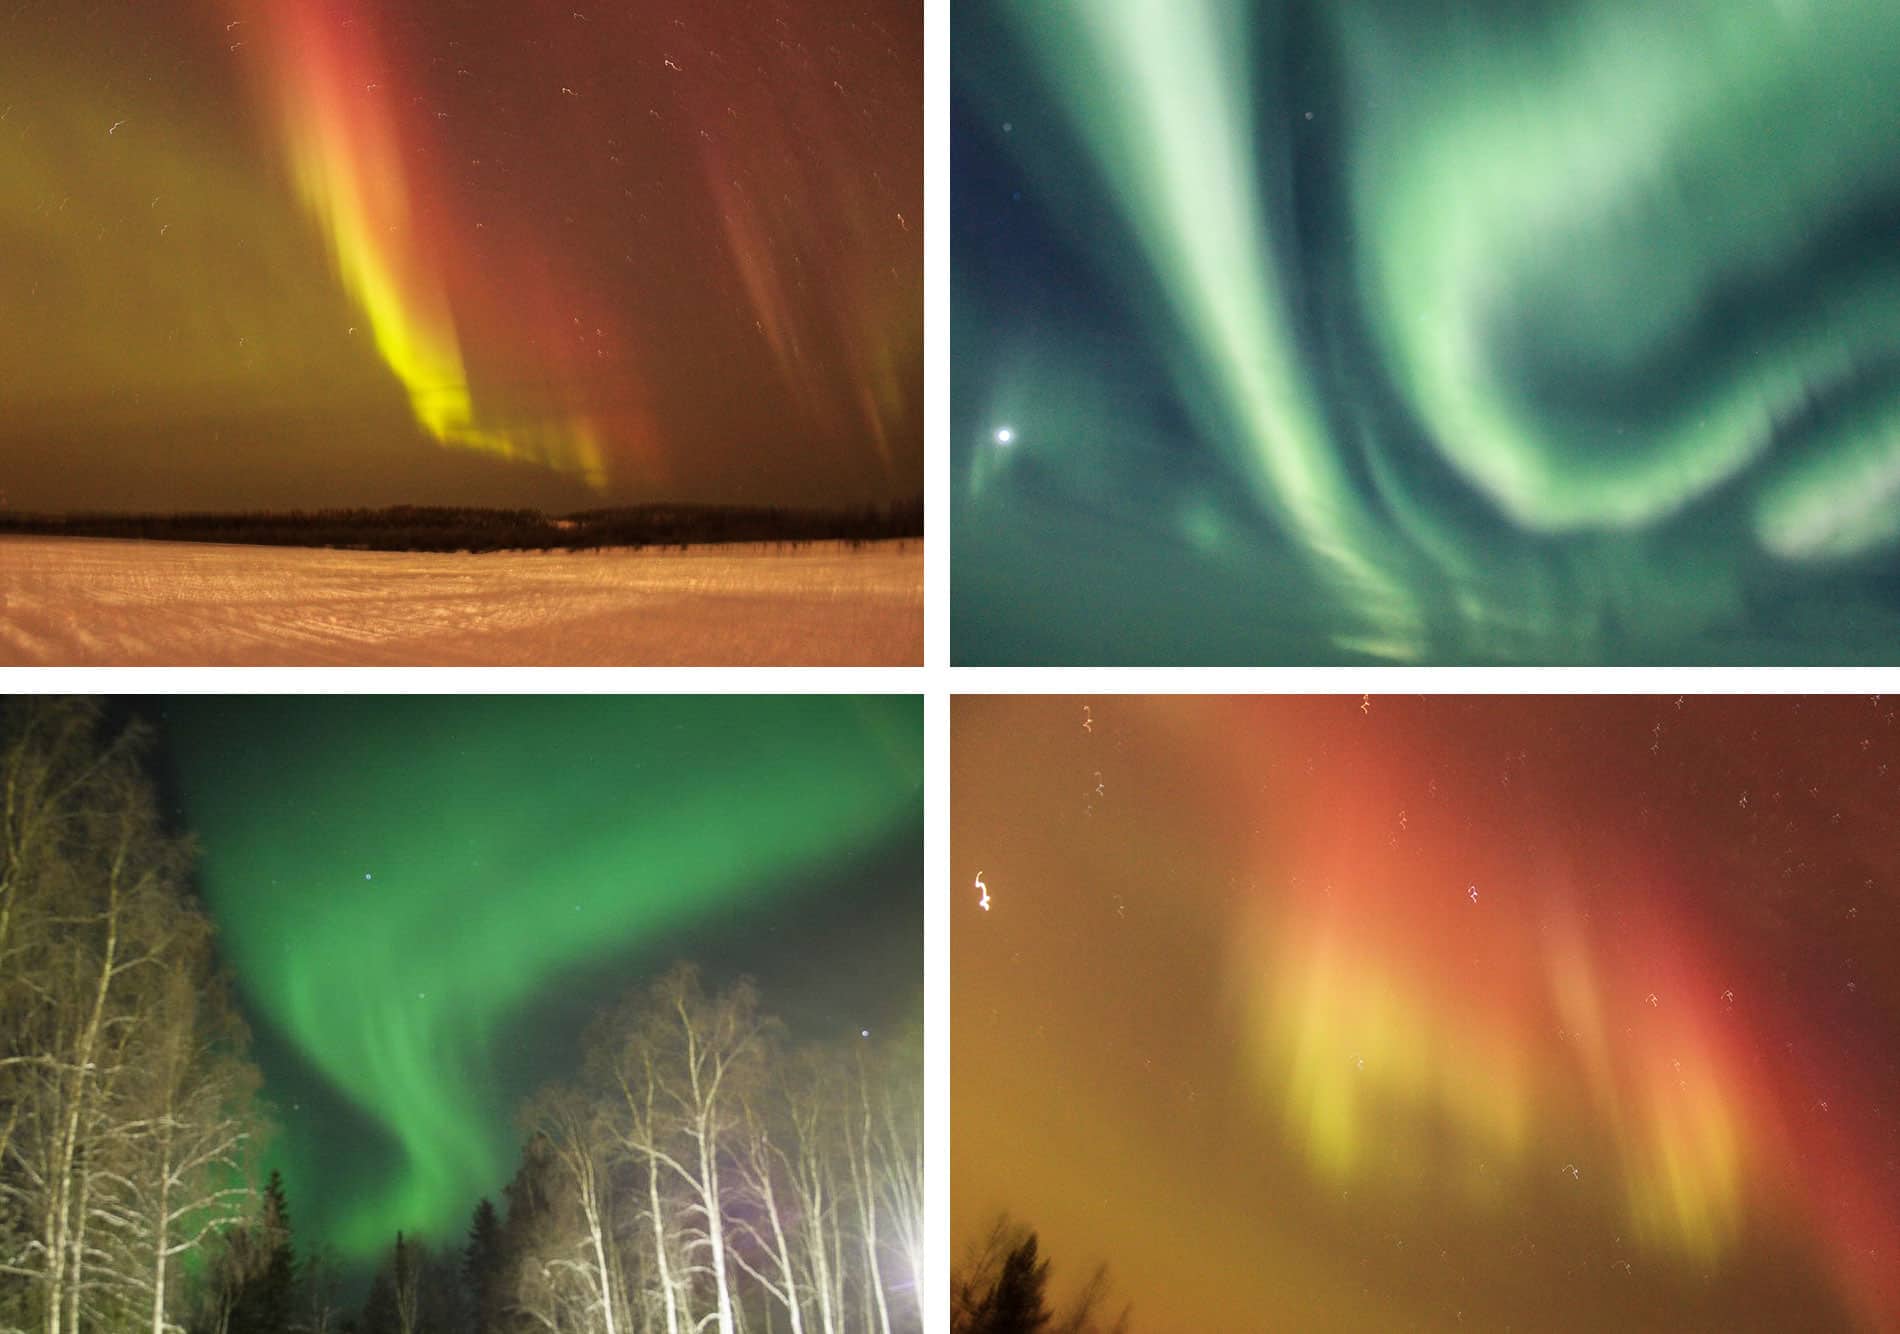
TABLE OF CONTENTS :
| HOW THIS PHENOMENON OCCURS
Northern lights occur mainly in regions close to the magnetic poles. They are caused by the interaction between charged particles in the solar wind and the upper atmosphere. It’s kind of funny because the northern lights are associated with many myths and legends, but they’re all referred to as “northern lights” except in Finland, where they’re nicknamed Revontulet which translates to “red fox tail” . The story goes that as the polar fox sped across the vast expanses of snow, its tail ejected dust into the sky, creating the aurora borealis. Cute, isn’t it? The Inuit of Greenland call them aurora aqsarniit. For them, auroras are the souls of the dead playing ball with walrus skulls. Less cute all of a sudden!
| WHEN TO SEE THE NORTHERN LIGHTS
We see them from September to March, in fact you’ll see them all year round, but they’re harder to spot in summer, around the time of the midnight sun, because the sun doesn’t set, the nights are shorter and there’s still too much light. You need to climb in latitude to maximize your chances of seeing the northern lights. They are particularly visible from late summer, in September-October, until April. It’s particularly in the weeks around the September 21st equinox that the spectacle is often magical, and this is scientifically explained by the earth’s position at that time.
- From mid-December to mid-January i.e. the period known as polar night, when it is almost dark all the time, we should see a few! However, year after year, it’s really hard to tell because you really need all the conditions are right to see them, and I often get the impression that in December and mid-January, the skies get cloudier and cloudier. If the weather is unstable and snow is falling heavily, your chances of spotting them are reduced. Now, if it makes you feel any better, December 2018 was a busy month where my customers saw quite a bit for an early season! I went to Swedish Lapland in the first week of January and we saw a beautiful one as soon as we arrived, followed by some very faint streaks in the middle of the week.
- The months of February and March are a very good time to observe the northern lights as the sun returns. As solar activity is more intense, you’re more likely to see them, but bear in mind that this is a natural phenomenon, that nature is in control, and that you need to be patient to see them.
- You should also know that sometimes all the conditions are right in the sky to observe auroras, the KP is good… but you don’t see any! Having lived through it, I know what I’m talking about.
You should also be aware that if you see the northern lights in northern Lapland, it’s quite possible that other travellers won’t see it in the west or east of the country, and vice versa. If conditions don’t allow it: cloudy skies, snowstorms, light pollution… you’ll hardly see them, if at all! Be patient, because the weather can change. Guides and structure owners now have applications that give them 24-hour weather forecasts.
| WHERE TO SEE THE NORTHERN LIGHTS
Since you need to be close to the magnetic poles and ideally above the Arctic Circle, the following countries are ideal for aurora viewing: Lapland, Iceland, Greenland, Lapland, Alaska, northern Canada and Antarctica. In Europe, you’ll find them in Lapland in the following countries: Finland, Sweden, Norway and Russia. With a bit of luck, they can also be seen in New Zealand – yes, yes!
| HOW TO PHOTOGRAPH NORTHERN LIGHTS
Start by investing in a quality cameras such as reflexes, hybrids or even compacts to access all the settings, accompanied by good, bright lenses that will allow you to open the diaphragm wider to let in as much light as possible. Look at the number in front of the F on your lens, it will give you some indication.
You’ll also need a wide-angle lens. Ideally, you’d like a lens that opens to 1.8, but this is rather expensive. If you have one that opens to f/2.8 or f/3.5, it’ll do just fine. At the time, I wasn’t well equipped to photograph them. I had a reflex but I didn’t know how to use it well, so as you can see, some are not too bad and others are blurry.
You will also need tripod and remote control. To get a sharp pause without blurring, you’ll need a long exposure in the snow and on damp ground. And to do this, you’ll have to stop moving and stop breathing. Unless you’re a superhero, I don’t see how you can do it! Sorry for the clutter, but a tripod is a must! As for the wired remote control, it’s not essential, but it’s a little extra that, in addition to the tripod, lets you shoot without touching the camera, thus avoiding any vibrations. At the time, I had a 30 cm mini tripod and I wouldn’t recommend it. It was far too low to take photos!
Remember to carry several spare batteries and high-capacity memory cards to store your photos, as you’re going to shoot several photos at different exposures in high definition, or try your hand at timelapse. Don’t forget to unload your photos every night, as you never know if you’ll come across any beugs on the map!
In short, to photograph the Northern Lights, you’ll need a good tripod, patience, good equipment for waiting outside in the cold, a long break and a good knowledge of your camera’s settings before setting off. Try things out beforehand so as not to be surprised on the big day.
CAMERA SETTINGS
I asked several people around me for advice, including professional photographers. Before leaving for Lapland, I recommend you test your equipment and get to grips with all the settings.
- Turn on the camera, set photo quality in the menu RAW (choose this option if you have software that can read this format, such as lightroom and photoshop) or in JPEG + RAW. The RAW format enables you to process your photos and correct certain aspects (brightness, contrast, etc.).
- Select the mode Manuel (M) or speed priority (S)
- Make the manual focus mode by looking for a point of light, not automatically (think about disable AF autofocus). Some cameras use the infinity sign to focus. I don’t have it on my camera, but I did manage to shoot a few auroras
- Open the diaphragm as wide as possible to capture the maximum amount of light (the smallest number should be in front of the f, e.g. f 2/8)
- Set your ISO. In the middle of the night, they’ll probably be between 2,000 and 3,200. Beyond that, it’s possible, but you risk altering the quality of the photo. Auroras can sometimes be photographed at ISO 400 or 1600, so do some tests. I photographed the aurora in Swedish Lapland, setting the ISO to 1240 and pausing for 10 seconds.
- Speed depends on the intensity of the aurora in front of you. Define the exposure time: count between 3 and 30 seconds maximum, don’t go overboard. Test and adjust if necessary, depending on the intensity of the dawn. Try a pause of 4 or 10 seconds. If the dawn is faint, increase the pause time. Conversely, if the dawn is very bright, the pause time will be reduced. If the dawn is moving, the pause time will be different…
- Use the retarder set to 2 seconds mode to make the shot or use the remote control to avoid the blurred photo.
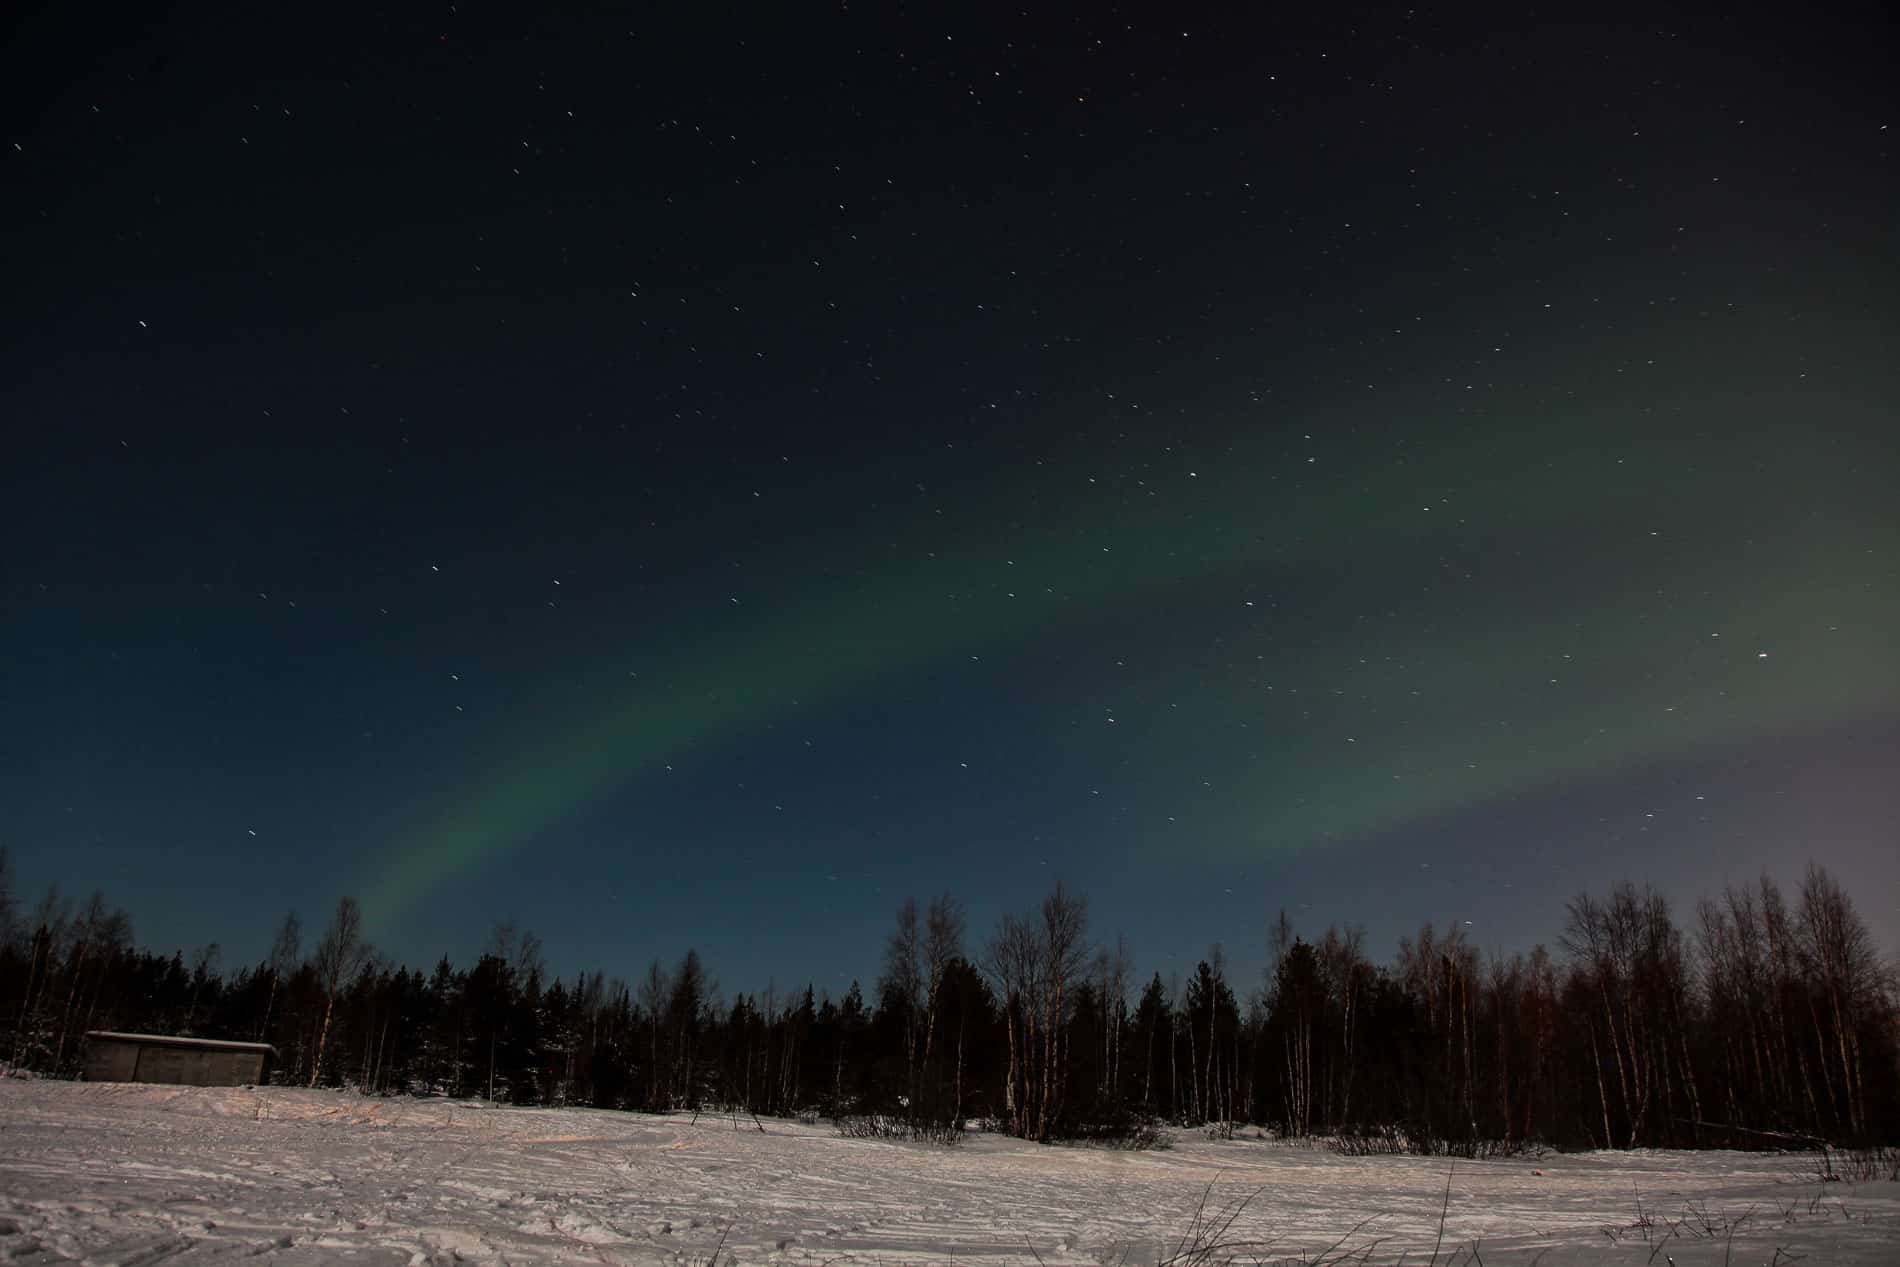
- Framing is very important. Therefore, balance your photo using the rule of thirds: avoid photographing too much snow or sky. Remember to use surrounding elements such as fir trees, icebergs, the Kota, reflection, a lake, a person, a cottage….
- You can shoot in burst mode, but single mode works too.
- Try timelapse to create an aurora video.
- You’re finally ready to experience a magical moment, so enjoy the show!
| EQUIPPING AGAINST THE COLD
Photographing the Northern Lights isn’t all it’s cracked up to be! As I said, you’ll need to be patient and pay particular attention to your camera equipment and your little body. Temperatures are often negative and you can wait a long time. Make sure you’re properly equipped to withstand the cold by wearing appropriate technical clothing. Don’t forget the essentials hat and mittens with the little flap at finger level. It’s very practical because you can pull the trigger on your reflex without having to remove everything!
You don’t know it yet, but cold weather tends to make lithium batteries discharge faster, whether in your cell phone or your camera. So remember to buy 1 or 2 extra batteries and take an external laptop charger. First tip, you can keep your batteries warm by putting them close to your body or inside your down jacket, pockets or fleece. You can also use heaters that you slip into your pocket or mittens along with the batteries.
Second tip, cameras and phones don’t like it when you go from cold to hot and vice versa! To avoid condensation, place your device in a protective neoprene cover or a hermetically sealed plastic bag such as a garbage can or freezer bag, and seal tightly. Once indoors, avoid placing your device near a hot source such as a radiator, and wait one hour before taking it out.
Third tip: bring with you either a thermos with hot tea or berry juice to warm up while you wait for the dawns, or a flask of local vodka which works quite well! Discover a few local Finnish drinks to buy locally in supermarkets.

| TIPS TO HELP YOU SEE THE NORTHERN LIGHTS
- The sky has to be right obscure, not cloudy and you are far from cities and light pollution.
- A moonless sky is always best for photographing the faint northern lights. Don’t panic if you see the moon, photos will appear a little brighter as if it were daylight.
- Don’t forget to look out for spots to photograph the aurora when the time comes. You’ll waste less time!
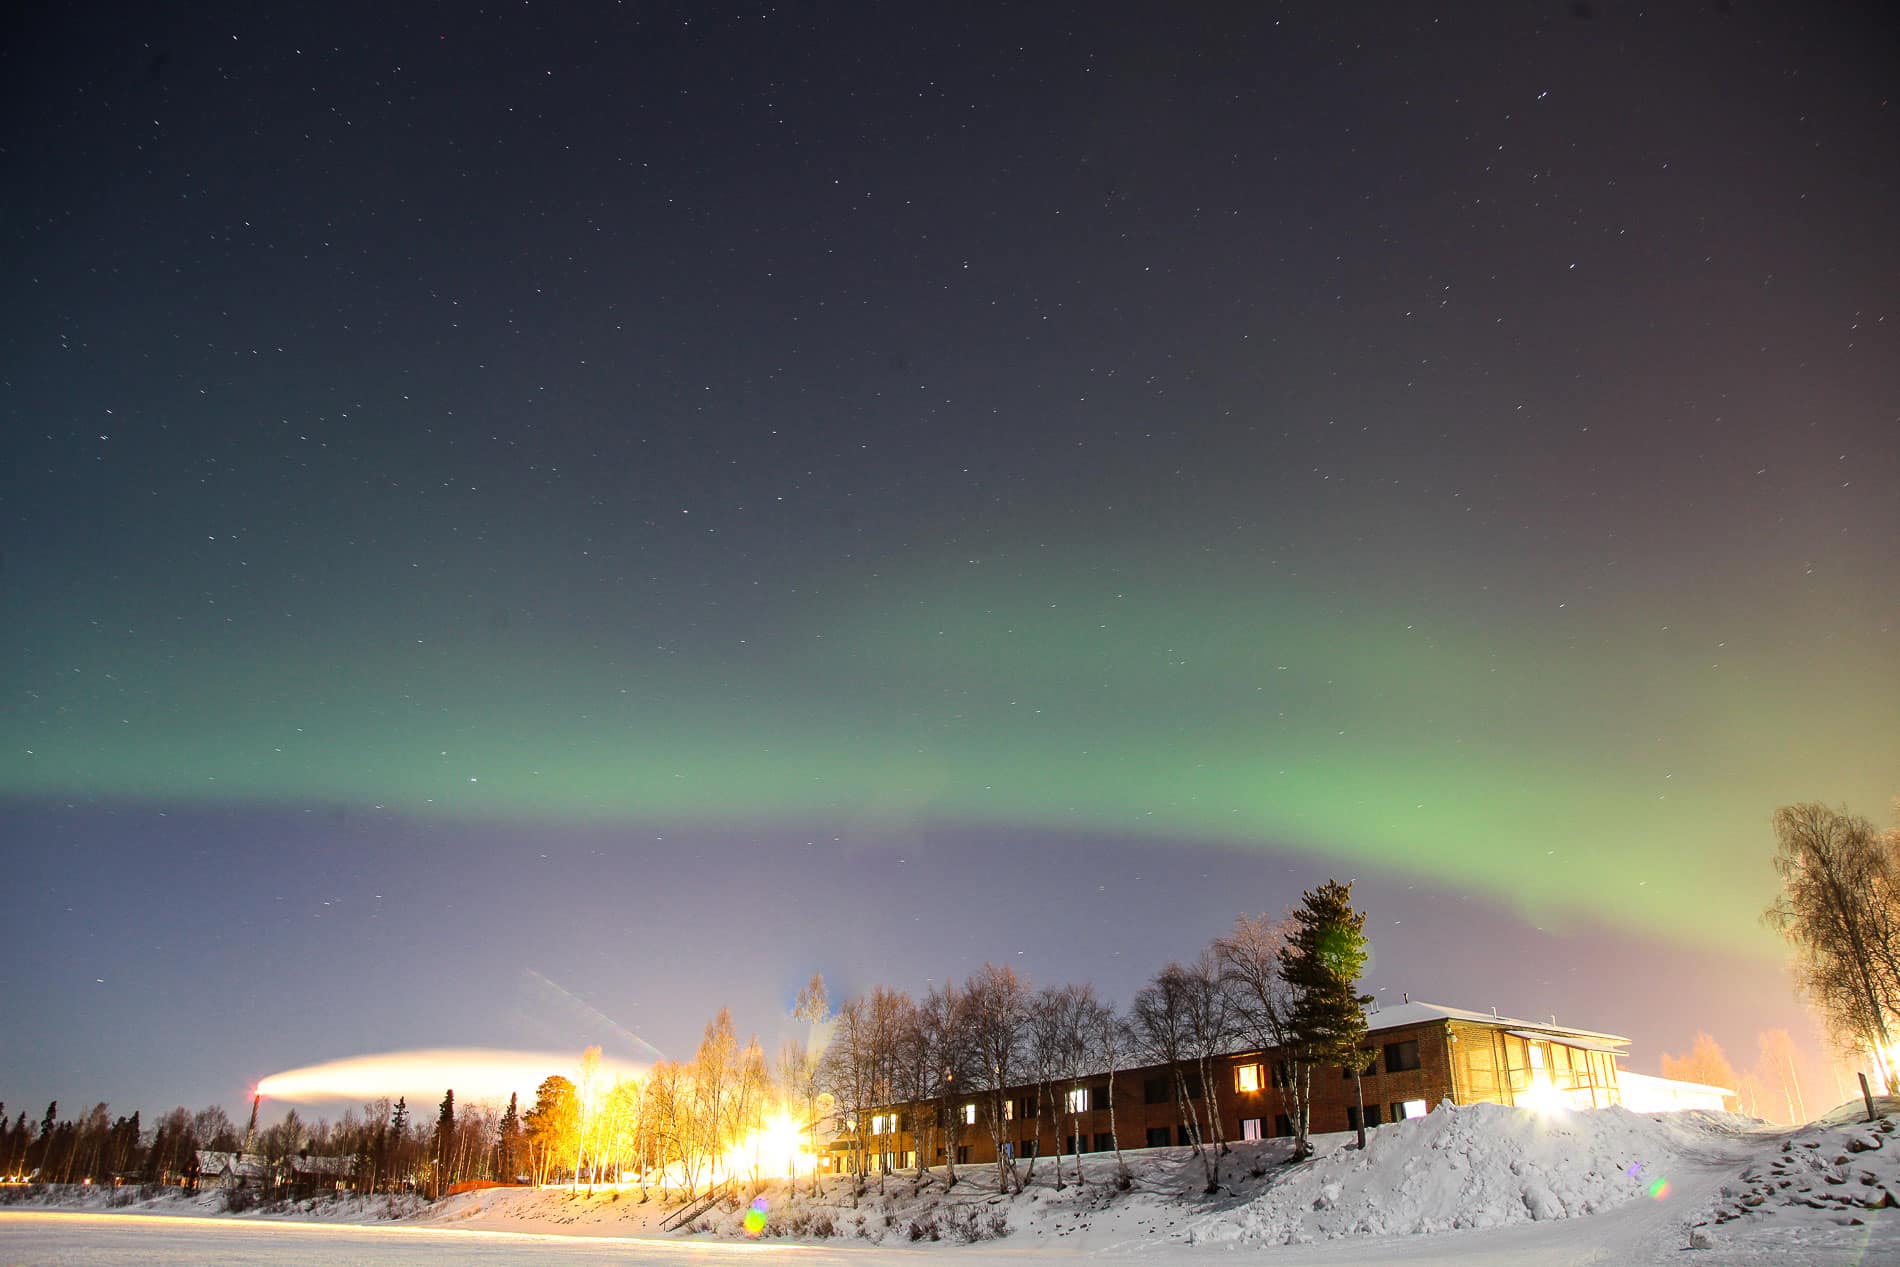
- If the aurora is present, go outside and look towards the North because an aurora borealis always forms in the North! It sounds silly, but few people have ever seen one from their bedroom! In Swedish Lapland, I saw some from the window of our cottage and what a delight! If you also sleep in one of these unusual hotels, it’s quite possible that you’ll be able to see them moving from your bed.
- You need a good KP index i.e. an indicator that measures geomagnetic intensity. It ranges from 0 to 9. You should know that today there are free phone applications such as MyAuroraforeCast or Aurora Alert gives you clues about the intensity of the aurora and sends you notifications when there’s an aurora! A hint KP4 is already a great way to see the aurora. Sometimes a hint KP3 is enough to see.
- Today, some facilities alert you via buzzers or call you into your rooms to warn you as soon as dawn breaks. If not, it’s up to you to keep an eye out.
- More and more of the organizations I work with are no longer organizing, or only rarely organize, night-time outings to see the Northern Lights, because this is a natural phenomenon and it requires a lot of logistical effort to get the snowmobiles out and the snowshoes ready, especially if the organization is small and has few guides available. You can actually see them over your head as you leave the chalet!
- Don’t make your trip all about the northern lights because I’m afraid you’ll be disappointed! Come first and foremost to discover Lapland and this sublime region. The Northern Lights will be the highlight of your trip.
I have a few programs specializing in aurora viewing and photography, and a few programs offering 1 or 2 night-time outings per week. To request a quote, please contact me at contact@mademoiselle-voyage.fr
I invite you to read all the articles on Lapland, as there’s little room for improvisation when it comes to this destination.
- Our practical guide and our advice to prepare your trip to Lapland
- Free and paying activities for children in Rovaniemi
- Comment winter clothing in Lapland
- 10 culinary specialities to discover
- The sauna and kota
- Souvenirs to bring back from Lapland
- Unusual hotels and experiences to discover

